Creating a Mailing List with Mailersend
I've long since wanted to add a mailing list to the blog as a way that people could directly show interest in what was being posted. I did however have the big provision that I didn't want to manually be creating emails to send out. I wanted to automate it. Off the back of my recent release process improvement I realised that I could finally start to build this feature.
I started by doing a little bit of research on which mailing list system I wanted to use. A few years back, I'd used Sendgrid for a similar automated email system, but it's current pricing structure makes it unsuitable for my needs. Ideally I didn't want to be paying for the email system until I had a decent number of subscribers and while 100 emails a day works great if you're doing exclusively transactional emails (registration, change password, etc.), it's less useful for a mailing list where you are likely to not send any emails some days and potentially thousands at once.
After a bit of searching, I found Mailersend. It had similar customer satisfaction rating, on various trust sites, as Sendgrid but was notably a lot cheaper. It's free plan also included 12,000 emails a month (with each extra 1000 available for an additional $1 on their pay as you go plan) which made it perfect for my simple mailing list. It had a straight forward api for sending emails and frankly included everything I needed at this point. It also had the added benefit of allowing me to secure all subscriber emails on my own system rather than requiring a copy of all the subscriber details to be sent over. This made things significantly easier from a GDPR prospective.
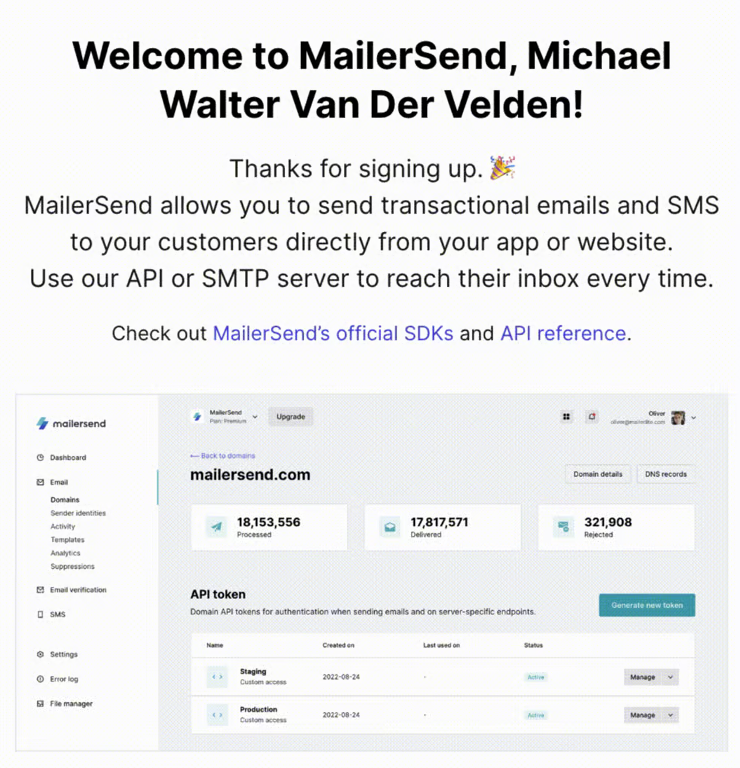
Setting up Mailersend required a few DNS configuration tid-bits. Mainly it required me to set up two TXT records to prove ownership of the domain, as well as a couple of CNAME records for collecting statistics and the like. It also required me to provide some details of how I intended to use the service so as to ensure I didn't intend to use it for SPAM purposes.
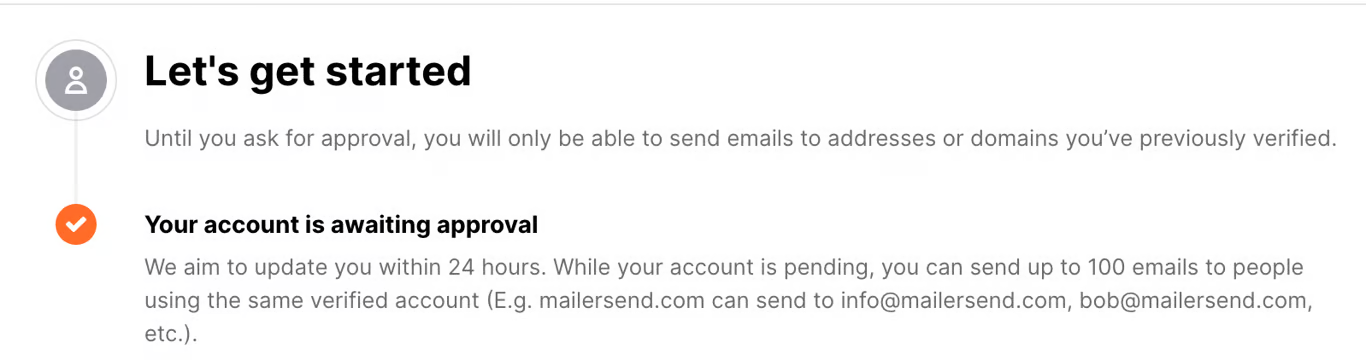
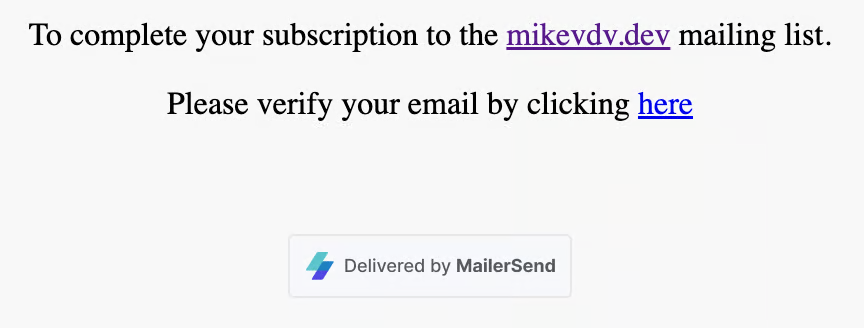
After the internal setup was complete, I got approved within half an hour. I decided that I'd build an extremely basic text email template for email verification and another for a new post that I could improve once I had the technical side complete.
Technical Plan
If you've ever set up a mailing list, the technical plan is likely to make a lot of sense to you already.
- we want to have a box in which readers can supply their email address.
- This box will add the email to the database in an
unsentstate. - A cron-ed cloud function will pick up all unsent status emails once an hour and send a verification email then it will remove the
unsentstate from those emails. - When a user clicks the verification link it will update their state to
verified. - Whenever a blog post is published, as per the new release process, a pubsub message will trigger an email to be sent to all verified emails.
- An unsubscribe link will be provided which removes that customers email from the database.
Build
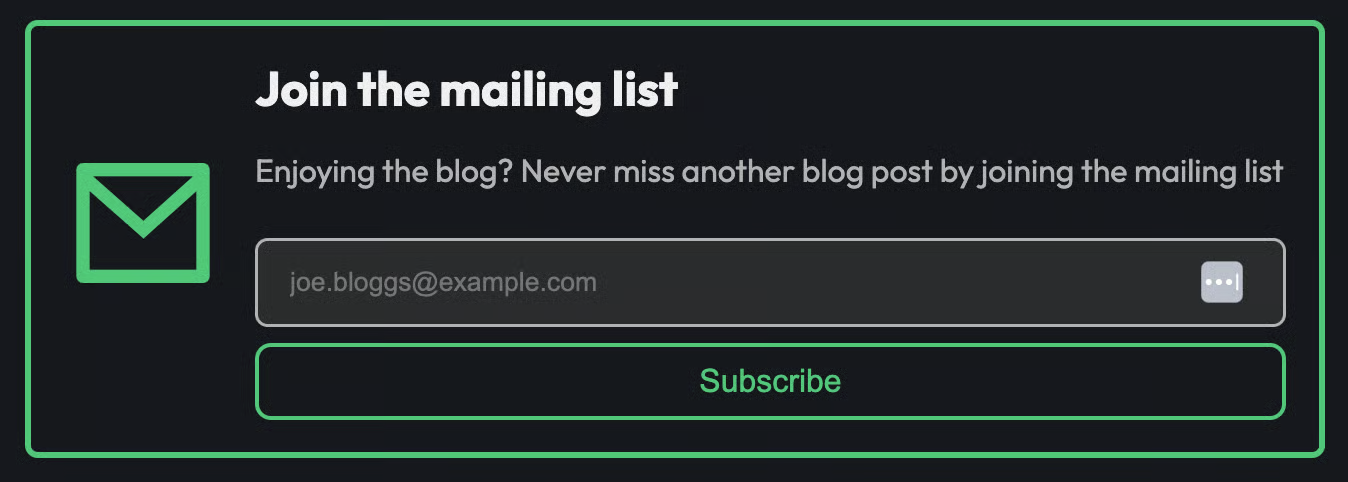
Step 1. The Subscription box
The subscription box itself is just a simple javascript form. It takes an input of an email and submits it to a sveltekit api endpoint. It should also use some form of captcha to stop people spamming it (I personally use hcaptcha because they care about privacy and are easy to set up).
Step 2. The Submission endpoint
To stop spam, the submission endpoint should not allow duplicated emails in the database. As such it should check if the email already exists in the database before adding it. In MongoDB, we can do that with the simple a simple query using count and limiting to 1 result. We then have an binary.
const exists = 1 === await collection.count({email}, { limit: 1 });
We can use sane-email-validation to check that emails make some semblance of sense before we store them. Once we're happy with our entry, we can insert it into the database with a few tokens.
const collection = await fetchCollection<mailingListEntry>(collectionName);
await collection.insertOne({email, state: 'unsent', subscribedAt: new Date(), verificationToken, deleteToken});
Step 3. The Validation Cloud Function
As this cloud function is going to be running on a cron, it's going to be a Cloud Event function. Much like the event function I created to generate the OG Image for the new release process. We can start by importing the correct types for that.
import { CloudEventFunction } from "@google-cloud/functions-framework";
export const ogImageGenHandler: CloudEventFunction<any> = async (event) => {
	// Our code will go here
});
Next we need to fetch the unverified emails from the MongoDB database. The real code iterates through pages but for our example here, we'll just fetch the first 500.
const db = await getDb(); // I use a helper function to avoid having to write connection code everywhere
const collection = await db.collection<MailingListEntry>(env('MAILING_LIST_COLLECTION')); // The MailingListEntry Type is a representation of what we put in the database
const emails = await collection.find({ state: 'unsent'}).limit(500).toArray(); // We need it in array format
Now that we have our list of unverified emails, we can create a new instance of our MailerSend integration, passing in our secret api key.
// top of file
import MailerSend from 'mailersend';

// inside our function
const mailersend = new MailerSend({
  api_key: env('MAILERSEND_TOKEN')
});
We then want to create email Recipients out of our database entries and generate the verification links for each one. I've not decided what url I'll actually use for this yet so the
//top of file
import { EmailParams, Recipient } from 'mailersend';

// inside our function
const recipients = emails.map(({email}) => new Recipient(email));
// If you collected a name, you can also pass that the Recipient. I didn't think it was needed for my use case

// mailersend uses a specific structure for values that need to be inserted into the email
const personalization = emails.map(entry => ({
    email: entry.email, // the email is used as a key
    data: { // this object contains all our inserted values
      link: `https://mikevdv.dev/confirmation-url/${entry.verificationToken}` //we need to add our token onto our url
    }
}));
Once we have generated our recipients and their personalisation data, we can send them as a batch of emails. You can set the sender information here as well but I have already set that in the UI of MailerSend.
const emailParams = new EmailParams()
    .setRecipients(recipients)
    .setPersonalization(personalization)
    .setSubject('Please verify your subscription to the mikevdv.dev mailing list')
    .setTemplateId('template-id');

  await mailersend.send(emailParams);
Finally, we need to update the state of the emails in our database to sent. This stops them being picked up the next time we send a batch of verification emails.
await collection.updateMany({ email: { $in: emails.map(({email}) => email)}}, {$set: {state: 'sent' }});
Step 4. The Verification Link
The verification link doesn't need to bee overly fancy. By using a randomly generated token and storing it against the email upon submission, we can use a SvelteKit API endpoint that has a parameter on it to pass the token.
We can use that token to update the state of the email in MongoDB. very similarly to how we did it when we sent the email to the user.
await collection.updateOne({ email }, {$set: {state: 'sent' }});
Step 5. Mailing List Cloud Function
The main mailing list cloud function is basically the same as the verification link cloud function. The main differences is that this will also provide data from the new blog post pubsub messages.
Step 6. The Unsubscribe Link
While I hope that no-one ever clicks this, it is an important feature to ensure that people don't at any point feel that they are being sent spam. We can create another endpoint, much like the verification endpoint that deletes the users email from the database using the following function.
await collection.deleteOne({ email });
Conclusion
So the site now has a mailing list. I hope you'll consider signing up to it as It's one of those things that really helps me see how many people are interested in my technical breakdowns and rants. I hope that this breakdown has helped you understand how to set up something similar using MailerSend. I'd love to see what you all build with it.